Showing posts with label kitchens. Show all posts

Thursday, August 11, 2011

DIY Antipasto Servers

Whenever we have friends over for dinner/drinks (happy hour) an antipasto platter of some sort is usually out for appetizers.  Napa Style Catalog has some great serving pieces for antipasto
  platters, but they're a little out of my budget, so I decided to try to create my own version.  

Here are some of theirs.


 napa style
 napa style
napa style
napa style

Here's my version after being inspired by these last servers. 


 The taller server was purchased unfinished from Joann Fabrics.  It looked something like this.
I used spray paint on the legs and Minwax stain for the top.
 
The shorter server was made from these spools and this wood top also purchased at Joann's.
 
After spray painting the 'legs', I rubbed the dirty stain rag on them to create an aged look.  
Can you tell which one I still have to do? 
I attached the 'legs' with Gorilla Glue.
This was such an easy/quick project and I'm really happy with the results.
I even tried them tiered.


I think these could be used for other non-food vignettes as well, or maybe even for Christmas gifts!
 P.S. This was a great project to complete at the end of the day...I really enjoyed my wine and cheese :)

I'm linking to the following parties:

Thanks for hosting, ladies!


Friday, November 5, 2010

Message Board or Valance?

 I recently posted here about my new message board at the kitchen desk area. 


 I had some leftover fabric from the project that I thought 
would be great for a valance to soften the kitchen window that
is currently just covered with a woven shade.


I started with just a rod pocket treatment because I was 
still trying to figure out how I wanted to finish the hem.


 I decided I wanted the "look" of a pleated shade but my sewing expertise is not
quite up for it, so I improvised by folding some pleats in the fabric
and sewing across ALL of them to hold the pleats in place.

The brown ties are made from leftover fabric from a tablecloth from Target. 
The tablecloth was bought originally for a drapery project that I posted about here.

Here's a peek at the finished product.

 I'm linking to the following party:

Tuesday, October 26, 2010

Cord Pet Peeve


 One of my biggest pet peeves is "cords".  

In the picture below you can see the cords/outlets that I stare at every time I'm on the computer. The paper "catch all" above the outlets is for notes/reminders and I posted about it here.  I like the note holder, but as with everything else in the kitchen/family room lately..."the red has to go", and I'm tired of looking at the cords. 

I think I can re-use this note holder in my daughter's room for a future project.


I decided to recover a bulletin board and lean it here to hide my cords/outlets.

This board is actually a piece of mylar board.  It works just like a cork bulletin board.


I worked the fabric (less than 1/2 a yard) around the board from 
end to end, and attached with my staple gun.


Once I had some staples in the top and bottom, and the left and right sides,
I began folding the corners.


Gather the corner fabric and pleat it before adding staples.


 Be sure your mylar board is cut a "hair" wider and longer than the frame
opening in order to squeeze it in to fit snuggly.


Here's the final look.  What outlets?  What cords?


Well, there is just that one cord to connect the laptop, 
but it's essential so I'll have to live with it?!


This desk top also has a piece of plexi glass that I added years ago.  It's nice 
to protect the desk top finish and it doesn't hurt to keep weekly reminders handy 
(what bills need paying, garbage pick up schedule, etc).  

Home Depot cut this plexi glass to size for me free of charge.


Stay tuned for a kitchen curtain made out of the same bulletin board fabric!

I'm linking to the following parties:


Sunday, October 3, 2010

Paint by Numbers


I love all the "number" motifs I've seen on blogs on everything from 
canisters, to planters, to pillows, to chairs ~ so I went to work to create my own.

I painted these stools with leftover paint from a kitchen table project,
and used some brown wall color paint to give them a glaze.  

Initially, the stools seemed a little bare.  They needed 
something to give them a little "umph".
I printed numbers on the computer and put the carbon paper to work,
tracing each number with a pencil.

Once you remove the carbon paper you can see the traced number just enough to paint it.


I used a black sharpie to outline the numbers and filled in with some black craft paint.

 I really like the way the black numbers connect with the black countertop.


 I'm linking to the following parties:


Thursday, August 26, 2010

No More Red Chairs!


It's official!  
No more red chairs in our kitchen.  


(Did I mention that these 2 chairs with the rush seats were purchased 
at the Goodwill several years ago for $8 each....I believe I'm getting my moneys worth!)

I'm not complaining (well, maybe a little), but this job wasn't a lot of fun.
I think it had something to do with all the spindles, the detail, the nooks and crannies, ugh!


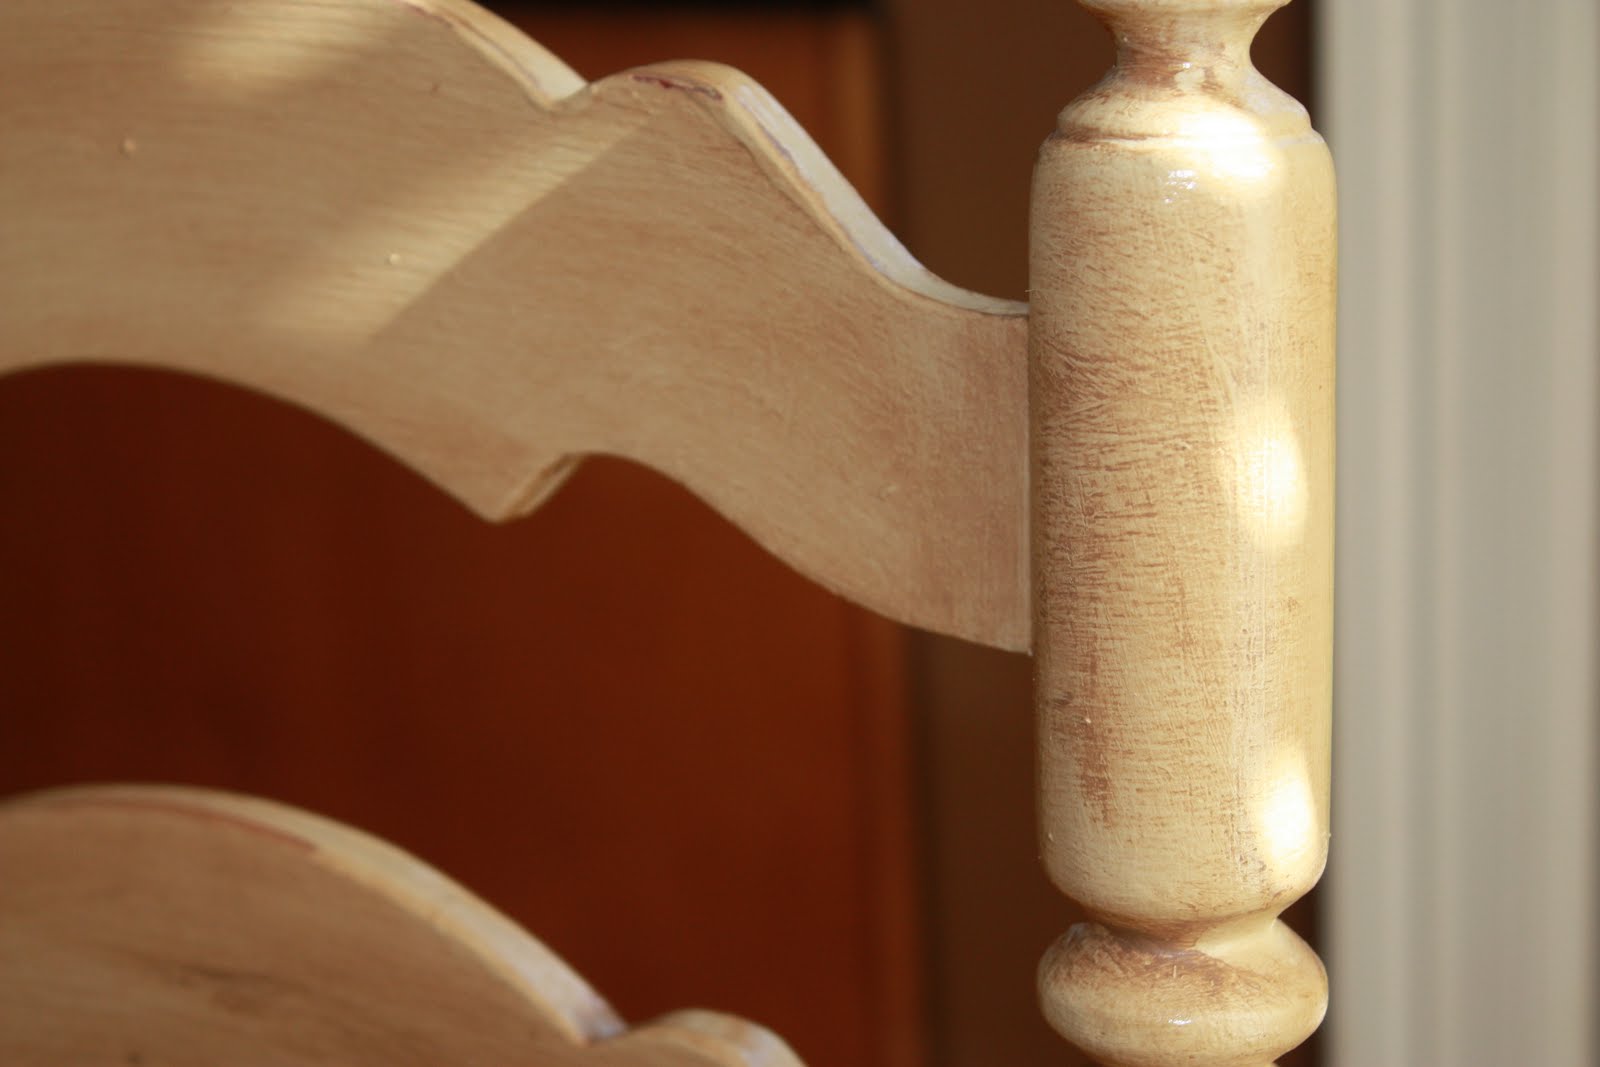
The color is called "whole wheat".  

It was actually a sample from our exterior house
painting job we had done a few months ago.


It looks pretty dull here.


Once I added some glaze (a.k.a. brown house paint used in kitchen/family room), 
the chair began to have a little more character.


How do you like the cream and wheat combination?


I like how it looks against the wood flooring.


Close-up of sanded table edge.


Who's ready for coffee?


I'm linking to the following parties: