Showing posts with label window treatments. Show all posts

Thursday, April 11, 2013

Cute window shade from scraps

My sewing techniques are not for the faint of heart.  

Let's just say I'm never going to get paid for any of my sewing creations, 
but that's okay as long as I can live with them.

Here's my new window shade in our hallway upstairs.


(There used to be a paper shade here that cost me a total of $2.99,
so I didn't feel too bad about replacing it.  You can see that post here.)

This new shade is made from scraps of leftover fabric from various projects.  The brown and white print 
was leftover from a chair seat I covered at our kitchen desk years ago.  The brown trim on the edges was originally a tablecloth, and the lining is leftover Unbleached Natural Osnaburg that I've used for several projects....everything from pillows to printing on the fabric in the printer (it's great for that).

Here's how it started...


I didn't even sew a rod pocket for the shade.....the top of the shade is just tucked over a tension rod, 
so I wasn't too concerned about the finished look.


I literally tucked the ends inside the shade and sewed a straight line across the bottom to hem it.
(Like I said, not for the faint of heart when it comes to the serious seamstress...)


Done!


The "pleats" are in place with additional tension rods.


I saw this genius idea at Imparting Grace.
(This is a wonderful blog you should check out when you get a minute.)


I'm linking to the following parties:


Have a great weekend!

Petie


Tuesday, November 6, 2012

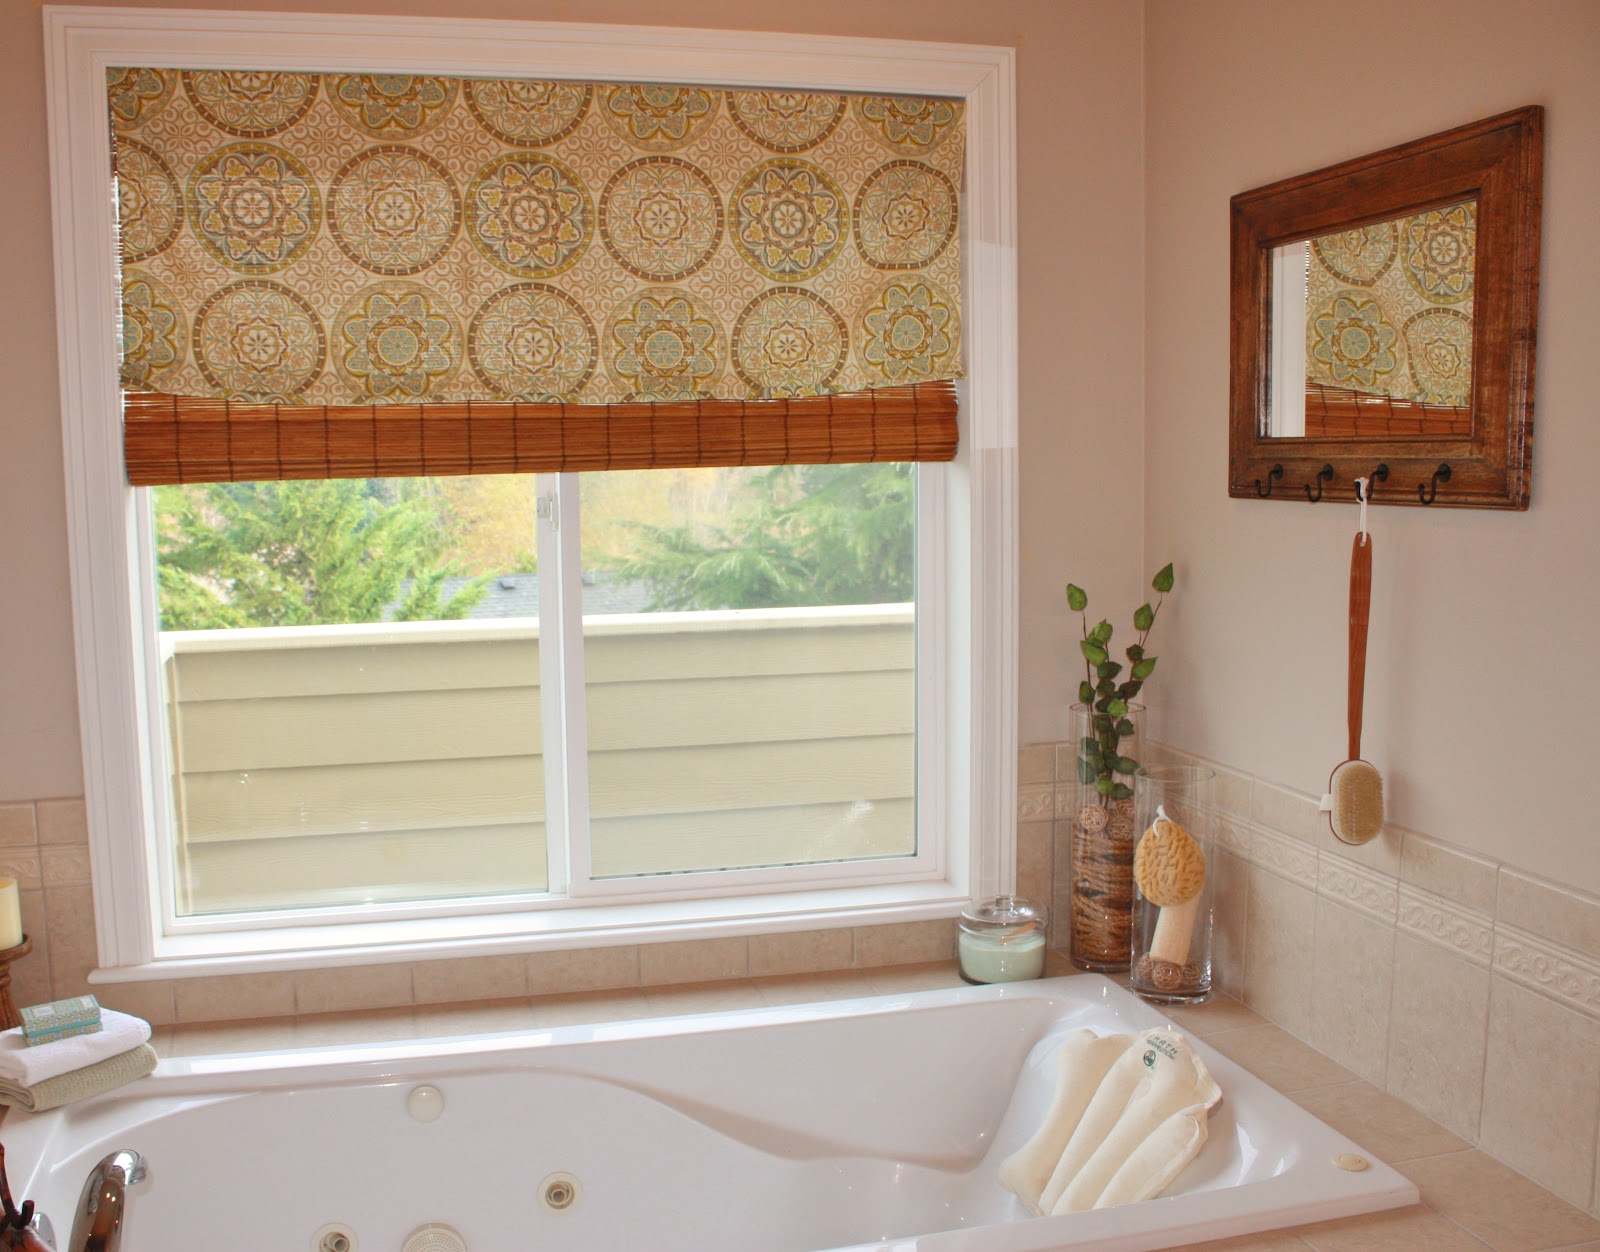
New Window Treatment for the Master Bath

We had awesome weather this past summer, so much so that I had to pull our old ugly bathroom curtains completely shut to keep some of the heat out.  I needed a shade!

I found a standard size shade at Home Depot for just $20.  I bought it knowing that I would have to trim a couple of inches from each side in order to make it fit inside the master bath window.


I used garden shears to carefully trim right along the thread line.


The garden shears left a bit of a rough edge that I sanded down to smooth it out some.


The header piece required a little sawing.


And here's the final result...fits perfectly!


I just hung it with these little hooks knowing that they'd never be seen once the curtain was up.


Next came a new curtain. 


This is a basic valance (because my sewing ability is very basic) on a tension rod....with a couple of layered pleats at the hem.


The vanity area.....trust me, it never looks this clean.


I'm linking to the following parties:

Thanks for hosting, ladies!


Petie

Wednesday, October 3, 2012

Paper Window Shade

 World Market  has some beautiful handmade papers in their gift wrap section.  The papers are roughly 20 x 30 and of substantial weight.  Here are a few:


 I purchased one of the papers to make a shade in a small upstairs window.


It almost fit perfectly....

 I had about a 1/4" on either side that needed to be filled to cover the opening, so I used spray adhesive to iron the paper to a piece of scrap fabric that's a little wider.  Having the fabric behind the paper also acts as a liner.


I wrapped the top of the shade around an inside mount rod and used the spray adhesive to seal it.  I folded a few pleats at the bottom and actually stapled them in place.  Can you see the staples?  No, they're hidden underneath!  Sew simple - no sew!!


Have a great weekend!

Petie


Wednesday, March 30, 2011

Tablecloth to curtain ~

I recently posted about making some changes to our dining room.  You can check that post out here.  After painting the room a mossy green, I moved on to updating the curtains.  The curtains in our dining room have always matched the curtains in our living room because the rooms open up to each other.  This meant 4 new panels that are both 96"+ in length.  This can get pricey for curtains so I got creative with this tablecloth.

This is a tablecloth from Cost Plus World Market.  It was 60" x 90". 

My curtain panels needed to be 96"+ so I bought 4 natural colored 54" x 84" curtains and
cut the tablecloth in fourths to add to them.  This gave me roughly 22'" to add to each panel.


I layed this 60" piece next to the 54" panel and determined how much 
width I needed to cut in order to have it equal 54".

Once I hemmed the width to match, I trimmed the top rod pocket seam from the 
panel in order to have a smooth end to attach the two pieces of fabric.

 Is this making sense?   

The two pieces were ready to be sewn together.
This is the outcome of that seam.

I added the rod pocket and was done.

The nice part about this project was there was very little sewing because
I already had the bottom hem (they still need ironing). 

I like the way they puddle.
And, I didn't have to do any side seams because the panel already had them 
and the tablecloth had one done (I had to shorten the width on one side).


This is the living room curtains.  The walls are a chocolate brown in there.

 I'm partying at the following places:

Friday, November 5, 2010

Message Board or Valance?

 I recently posted here about my new message board at the kitchen desk area. 


 I had some leftover fabric from the project that I thought 
would be great for a valance to soften the kitchen window that
is currently just covered with a woven shade.


I started with just a rod pocket treatment because I was 
still trying to figure out how I wanted to finish the hem.


 I decided I wanted the "look" of a pleated shade but my sewing expertise is not
quite up for it, so I improvised by folding some pleats in the fabric
and sewing across ALL of them to hold the pleats in place.

The brown ties are made from leftover fabric from a tablecloth from Target. 
The tablecloth was bought originally for a drapery project that I posted about here.

Here's a peek at the finished product.

 I'm linking to the following party: